
Firebase Cloud Messaging in Xamarin.Android
11 Nov 2016 | Notifications Xamarin.Android1. Creating a Firebase Project
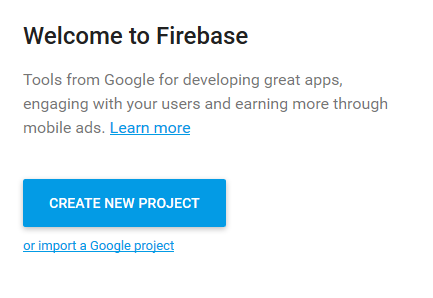
If you have not already created a Firebase project you need to do so now. You can either opt to import an existing Google project or Creating a new. Either way the instructions are pretty much the same.1. Go to the Firebase Console
2. Create a new project or import Google Project
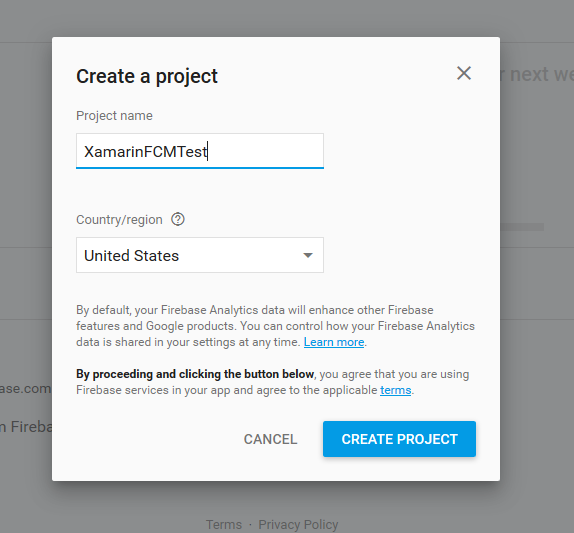
I don't think it is super important what region you choose your project to be in. I just chose the region where I expect the most users to use my App.
2. Registering Application
When you have created your project or imported an existing one you can now add your application. This can be done several places in the console. I just went to Notifications and it prompted me to add an application.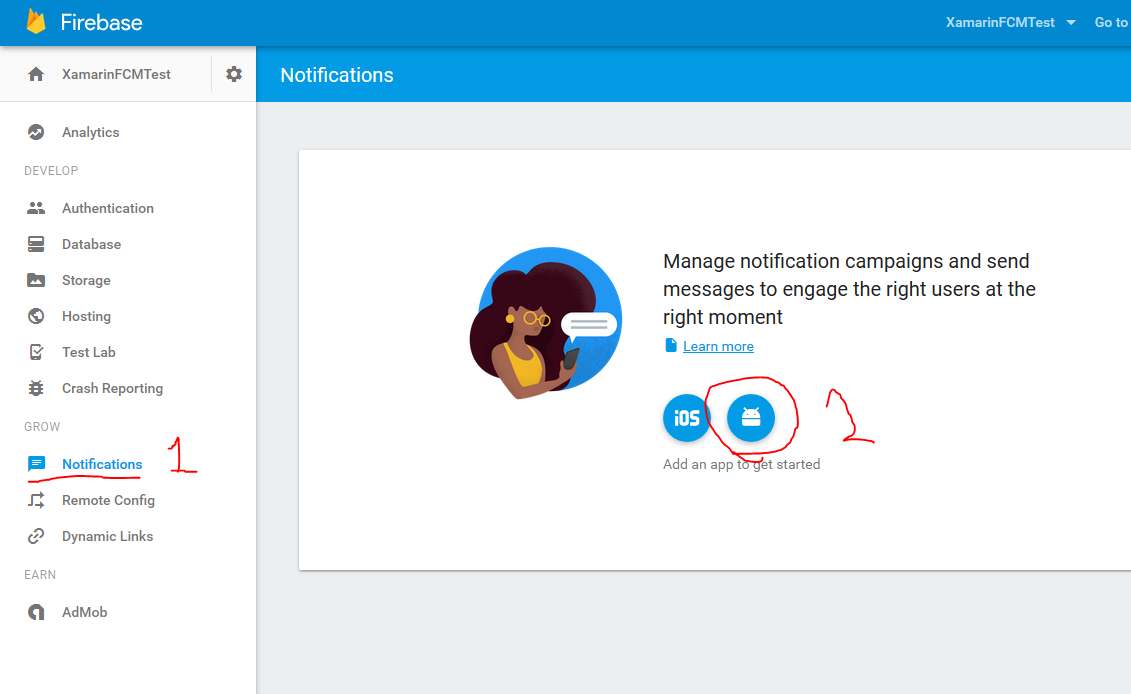

2.1 Creating a keystore (optional)
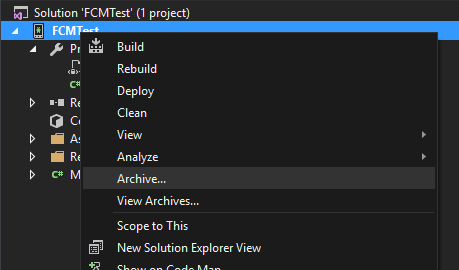
If you haven't already created a keystore file for your App, you can do so now. For more information refer to the Xamarin Documentation.You will need it for deploying to Google Play Store anyways. You will need it for Google Play Services, such as Google Maps. Easiest way to do so is through the Archive tool in Visual Studio or Xamrin Studio, which you can trigger by right clicking your Android Application project. Make sure to have selected Release Configuration and your App can build.
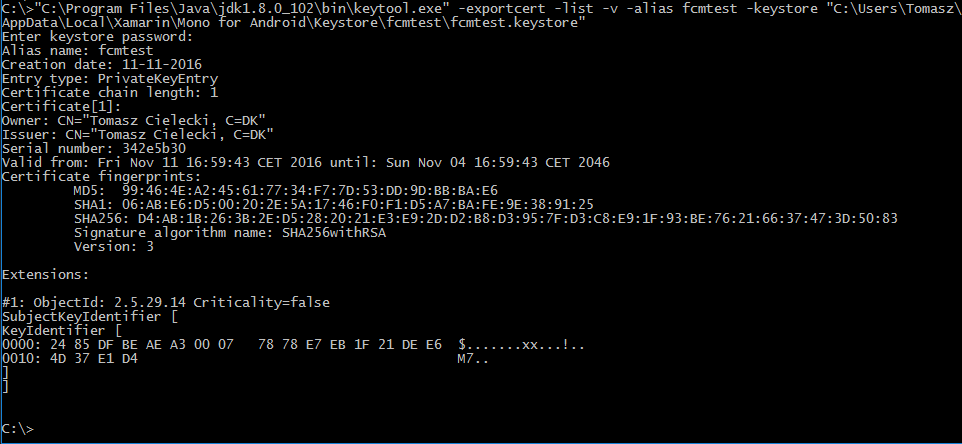
On Windows, Xamarin Archives put the keystore in C:\Users\<username>\AppData\Local\Xamarin\Mono for Android\Keystore you can find the one you just created in a subfolder maching the name of the keystore you just created. To get the SHA-1 from a keystore you run the keytool command line tool. If it isn't in your environment PATH, it is located in the Java SDK folder. In my case C:\Program Files\Java\jdk1.8.0_102\bin lets just assume you don't have it in your environment PATH the command to get the SHA-1 would look something likeNote: A keystore is used to sign the application, for deployment on the Google Play Store. Many Google Play Services require a SHA-1 entered into the Google Console for your App package
"C:\Program Files\Java\jdk1.8.0_102\bin\keytool.exe" -exportcert -list -v -alias yourkeystorealias -keystore C:\Users\<username>\AppData\Local\Xamarin\Mono for Android\Keystore\fcmtest\fcmtest.keystore
yourkeystorealias being the name of your keystore in this case. Although a keystore can contain multiple aliases, which the Xamarin Archive tool does not seem to care about. The output will look like follows
You can also grab the one from the debug.keystore in the C:\Users\<username>\AppData\Local\Xamarin\Mono for Android folder and enter that later as an additional fingerprint in the Firebase console.
3. Adding FCM NuGet to your project
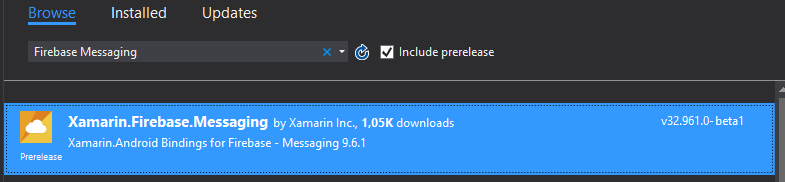
Before we proceed and before we can do 4. where we add the google-services.json to our project. We need to add some NuGet for the FCM stuff, but also for the Build Action needed in 4., which comes with the Google Play Services Nuget.Add the Xamarin.Firebase.Messaging NuGet to your project. Currently there is only a pre-release version of it. Hence you need to tick the Include Prerelease box in your NuGet package manager.
4. Adding google-services.json to the application
We will now add the google-services.json file from 2. to the Android project.Right click your project, select Add > Exisiting Item find the google-services.json in the folder your browser downloaded it to, then press Add.
Now we need to set the build action of that file to GoogleServicesJson.
Note: If the GoogleServicesJson Build Action is not present, follow the instructions in this GitHub issue which tells you to: 1. clean/rebuild your project. 2. restart Visual Studio/Xamarin Studio. 3. make sure that the csproj file includes Xamarin.GooglePlayServices.Basement.targetsAdd the Build Action by right clicking the google-servies.json file you added to your project. Click Properties. In there set the Build Action.
5. Adding FCM receivers to the AndroidManifest
Inside the AndroidManifest.xml we need to add a couple of entries for the FCM BroadcastReceivers, which are not added by the NuGet package.Locate the <application> tag in your manifest. Inside of that node add the following code
${applicationId} will get replaced at build time, with your App's package name. Make sure your package name conforms to Android's guidelines.
6. Implementing FirebaseInstanceIdService and FirebaseMessagingService
Now we need to add two services in our App. FirebaseInstanceIdService, which gives us the token used to identify the FCM registration of this particular device. This is normally used with a backend to tell it how to send notifications to the device.FirebaseMessagingService is the service, which will be invoked when we receive a notification in the application. Here you prepare the notification to be displayed with data coming from the FCM.
6.1 FirebaseInstanceIdService
In order to receive the token from the App's registration with FCM, we need to implement FirebaseInstanceIdService. In here you would save the token and communicate it to the backend, which sends the notifications to the App.What I usually do in step 1. and 2. in the todo comment is to check with the token I saved in SharedPreferences whether it has changed and override it if it has. Then I send a request to my backend with the new token.
6.2 FirebaseMessagingService
The FirebaseMessagingService is where we receive our notifications. Here you will get the data out of the notification sent to you. If you have sent extra stuff with your notification, take a look at the Data property on the RemoteMessage argument we get in OnMessageReceived. This will probably also apply to raw notifications that do not trigger any visual feedback.In either case here is some sample code to get you started. Here I simply grab the Title and Body sent with the notification and present it with an Intent to start my MainActivity. The Intent accepts extras which you can add to it and when the notification triggers your Activity you can pull that data out and act accordingly.
That should be it! Build and fire up your Application and use the Firebase Console to send some test notifications.

The GooglePlayServicesComponents repository that Xamarin has on GitHub, contains a sample application that you can take a look at if you need a starting point. You can also take a look at the documentation from the Firebase Component not yet in the Xamarin Component store.