05 Apr 2016
|
Visual Studio
Xamarin.Android
29/5/2017: Visual Studio Android Emulator has been discontinued. Microsoft recommends using the Emulator Images that Google provides. The Google images rely on HAXM as described below, so no AMD support and you can't run it with Hyper-V running at the same time.
The images Google provides in the Android SDK are all great and work fine if you have Intel HAXM installed on the machine. However, a lot of developers using Visual Studio, also use Hyper-V to run Windows device emulators. This means Intel HAXM doesn't work and in turn means that the x86 images from Google won't run because there is another hypervisor running.
Microsoft have been so kind to provide the Visual Studio Android Emulator which uses Hyper-V as hypervisor and does not require you to reboot your machine every time you want to switch between using Hyper-V and another hypervisor. Great!
There is one caveat. None of the images included in the Visual Studio Android Emulator tools have Google Play Services installed. Hence, you have to install them yourself. It turned out to be more complicated than I thought it would. Hence, I am documenting it in this blog post.
At first I tried the tried and great OpenGapps, which a lot of custom roms for Android devices recommend using. Picked x86 and the pico package for Android M and tried to install that on a Marshmallow image. It just threw an error telling me that the system/ folder was missing in the zip. Great, what then? I tried adding that folder with an empty file manually to the zip, as it seems it doesn't care whether the zip is signed or not when installing. This made the zip install. Well not really, no Play Store or Play Services where actually installed.
I tried some other GAPPS zips from various sources, none of them seemed to work. I searched around without finding any solution.
Alexandre Chohfi over at the Xamarin Community Slack pointed out that he had the same issues with Genymotion, which runs on VirtualBox and pointed me in the direction of this gist explaining how to do it on Genymotion. Following the instructions from arcao in the comments works! Without installing that Genymotion ARM translation package too.
Steps I used
Prerequisites
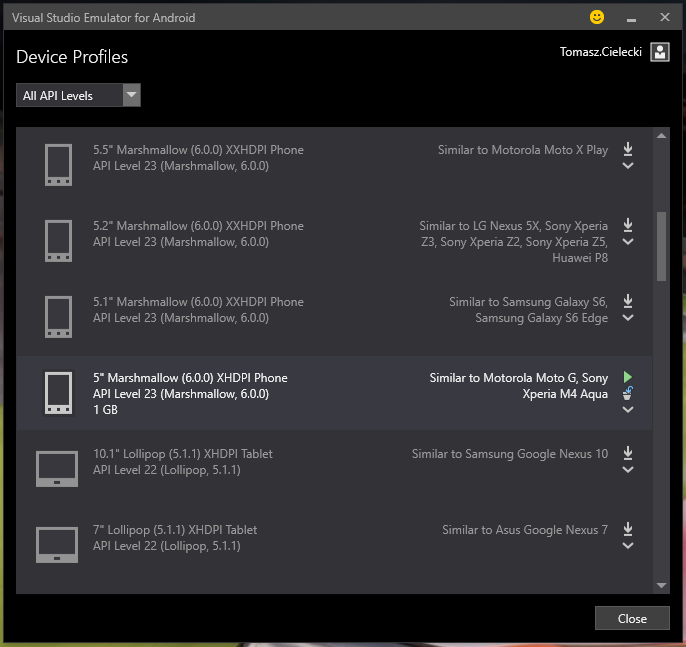
1. Install a Marshmallow image in the Visual Studio Emulator for Android tools (can be opened through Tools > Visual Studio Emulator for Android in Visual Studio)
2. Download gapps-L-4-21-15.zip
3. Download benzo-gapps-M-20151011-signed-chroma-r3.zip
Installing
1. Start the Marshmallow image
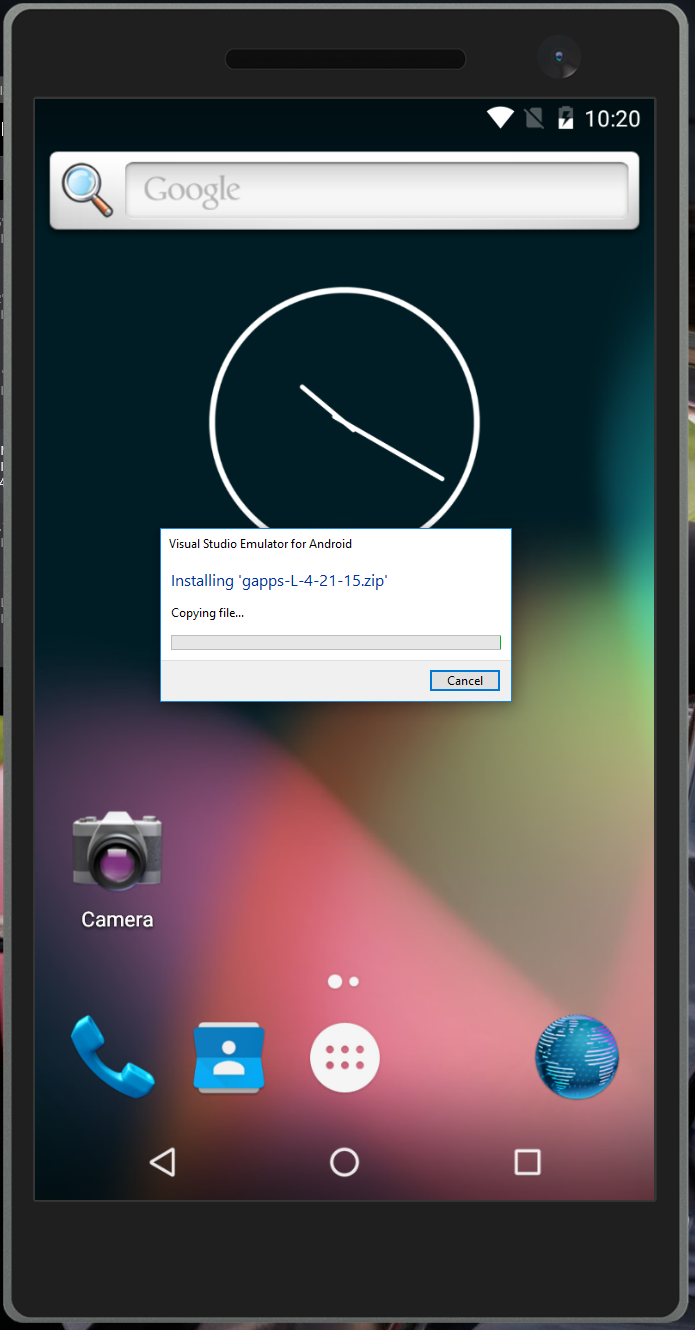
2. Drag the gapps-L-4-21-15.zip onto the Emulator after it has booted. It will prompt you to install the zip and shutdown the device after that.
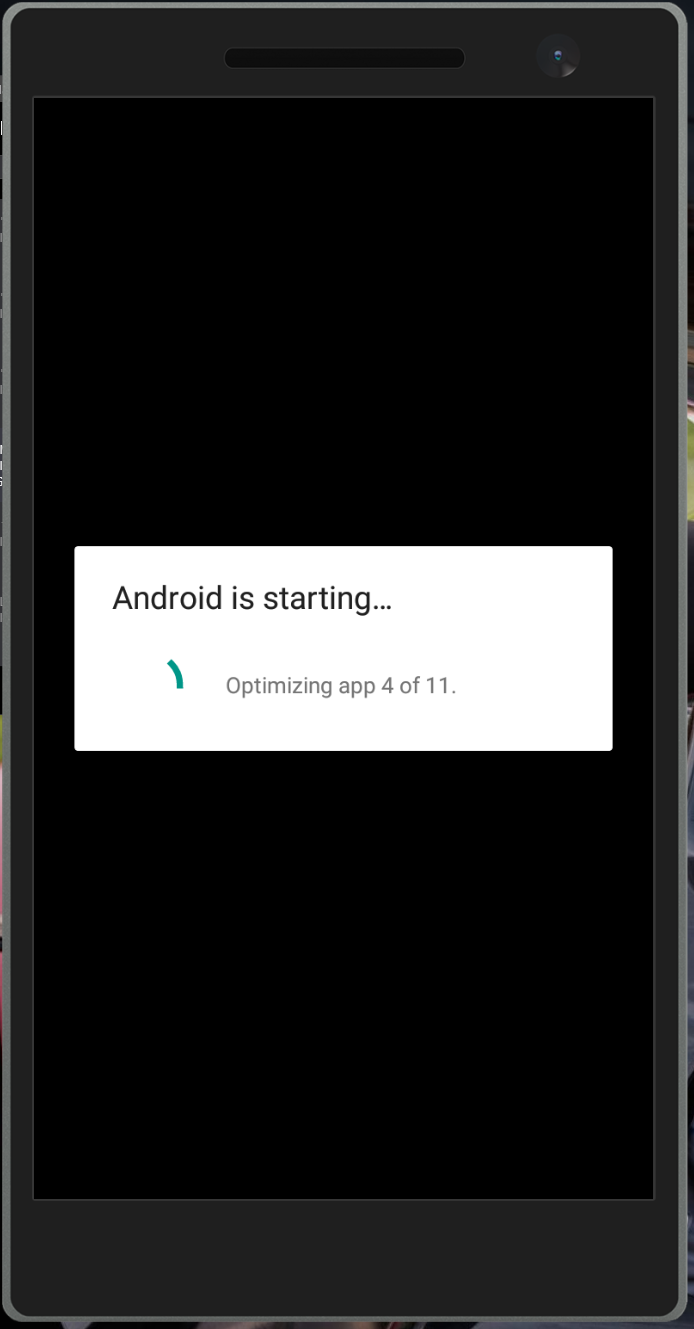
3. After having install the gapps boot up your Emulator again, it will show a dialog about optimizing newly installed packages.
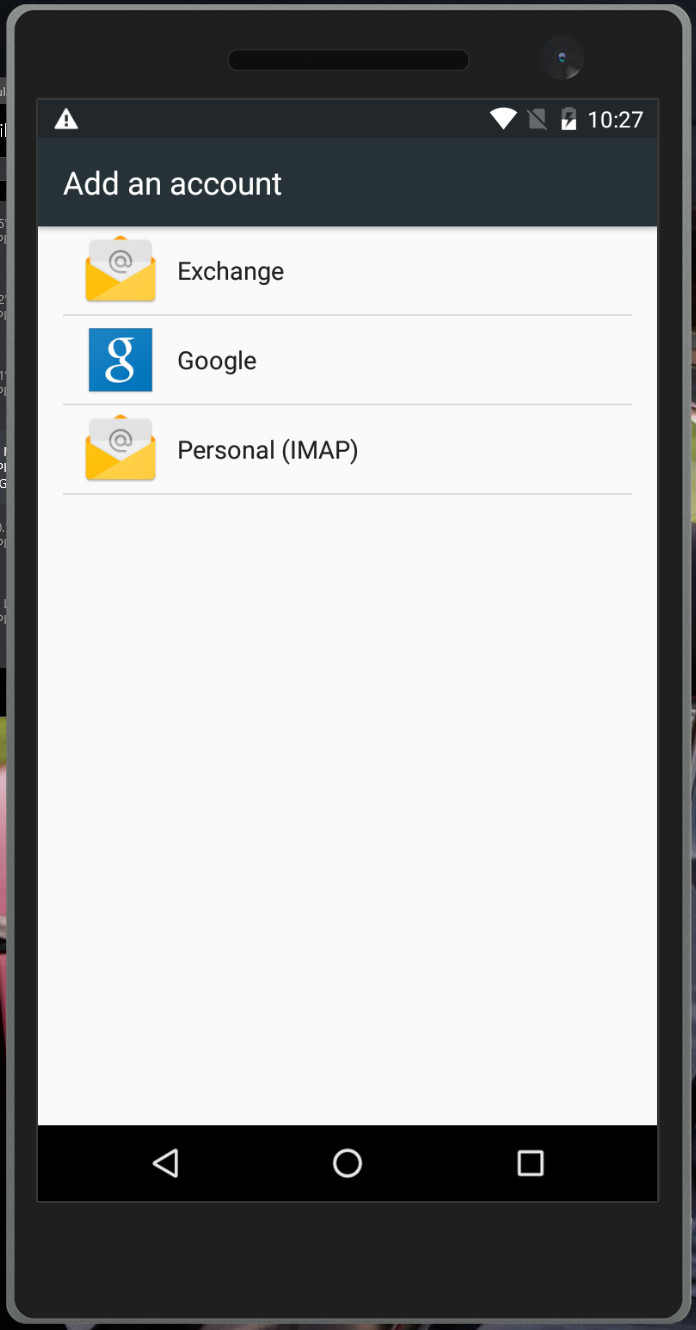
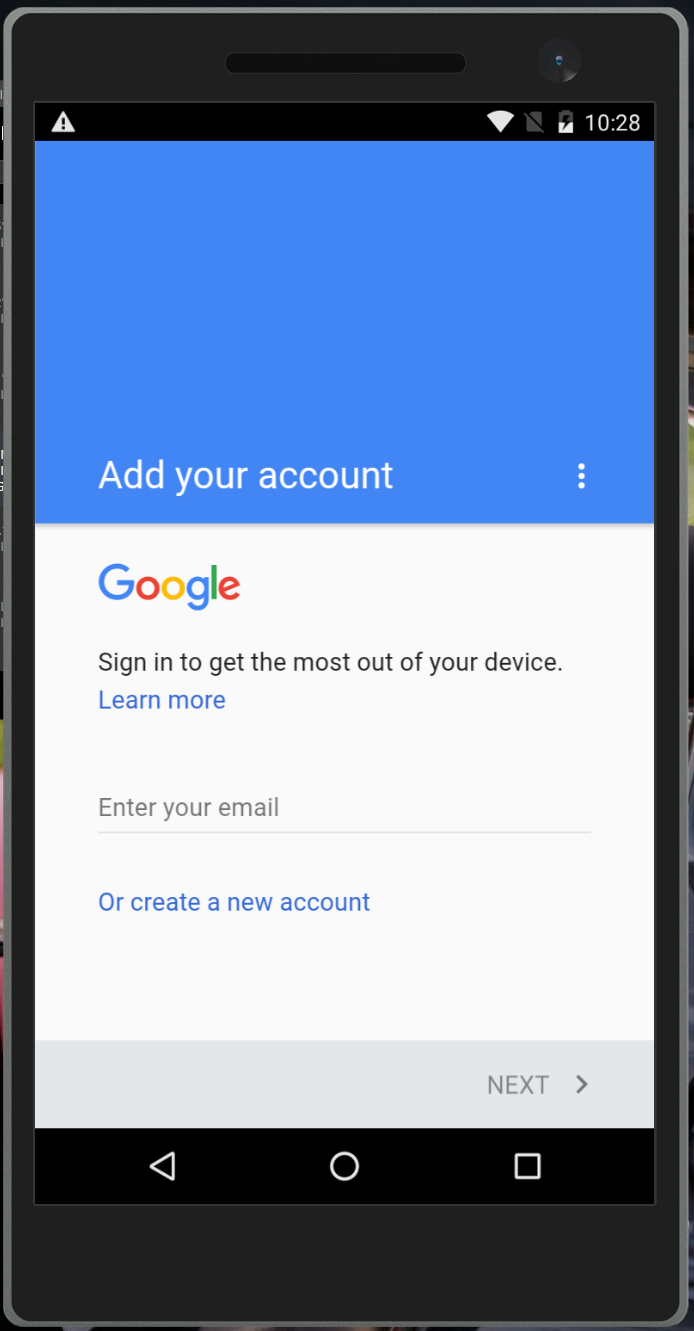
4. Go to Settings > Accounts and Add a Google Account. Ignore all crashes.
5. After adding the Account, install the benzo-gapps-M-20151011-signed-chroma-r3.zip by dragging it onto your Emulator, like in step 2.
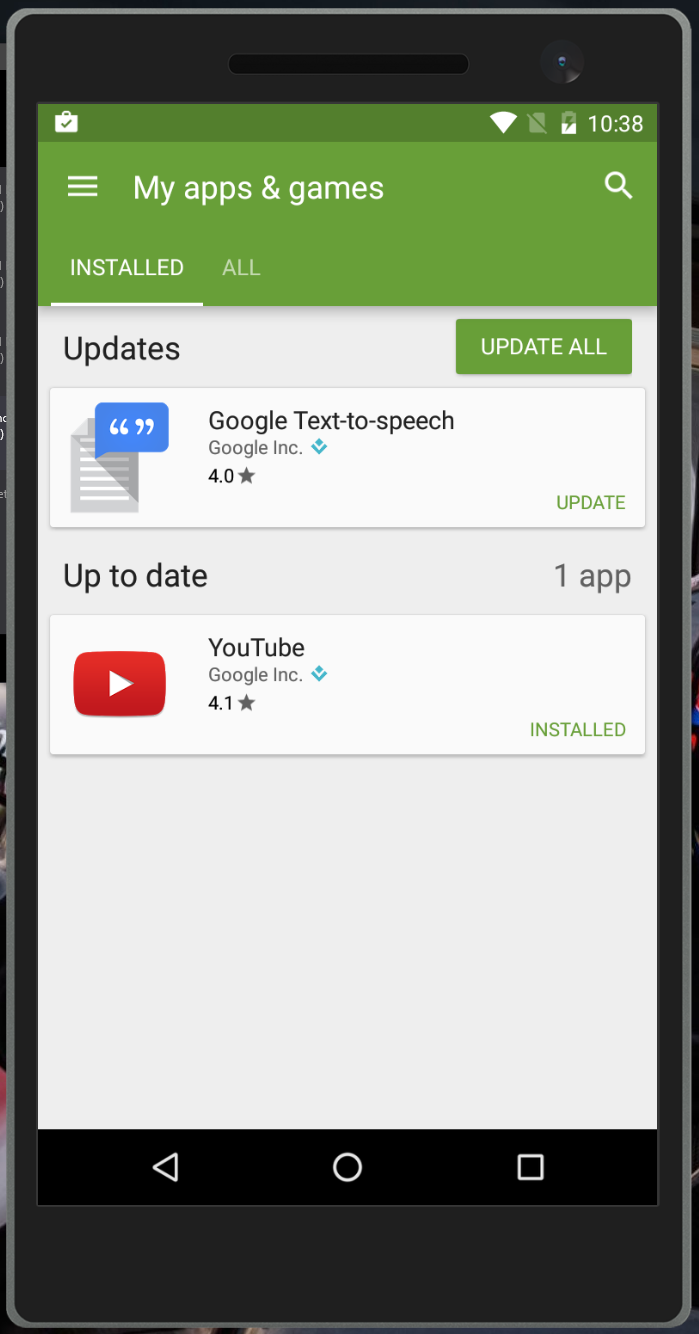
6. After rebooting after step 5. is done, you should now have working Play Services and Play Store on your Visual Studio Emulator for Android.
11 Mar 2016
|
Localization
Xamarin
I've been working on a project which is targeted for Xamarin.Android, Xamarin.iOS and Windows 8.1 (non-Silverlight). They are all sharing the same PCL projects for ViewModels, Services etc. Hence, I thought this was an ideal place to chuck in application strings. Don't get me wrong, it still is! However, there are some things you need to know in order to get it to work nicely with the Windows 8.1 project.
Windows 8 introduced new RESW files, which structurally are similar to RESX files. However, instead of needing to have all sorts of helpers etc. to bind localized text strings and now dimensions etc. to properties of FrameworkElements, that is now done by convention. Which is really neat. However, this is of course only for Windows 8.
How this looks in practice is that your key for some resource could be something like: Welcome.Text and the value could be something like Hello, World!
In your XAML file you could then have something like <TextBlock x:Uid="Welcome" Text="Design Time Text" /> and then the Text property would automatically be set to the one in the RESW file. Neat!
Now all this RESW stuff is cool and all. However, if you are either too lazy to migrate to RESW or if you want to use RESX files because they work nicely with Xamarin projects then it is not all that nice in the Windows 8 world.
In Debug using the RESX approach, it switched automagically to the correct language. However, as many other posts around the Internet described, this was not the case on a device when having created a Store package. It would always default to the neutral or default language.
Several sources say this blog post is the solution to the problem in my case nothing actually happened. It describes how to use your own implementation of ResourceManager and having a break-point in the GetString method I saw the CultureInfo always was null. However, the Default one was actually correct. Nevertheless the incorrect language was taken from my RESX files when deploying a Store package.
After having spent way too much time on figuring this issue out I fell over this blog post, which points out a key to still be able to use RESX files in a Windows 8.1 project and Xamarin projects at the same time with it being shared in a PCL.
The steps are quite simple.
- In the PCL where you have your RESX file(s) add the following to the csproj file: <SupportedCultures></SupportedCultures> this should simply contain the language codes semi-colon separated like so: <SupportedCultures>en;da;de</SupportedCultures>
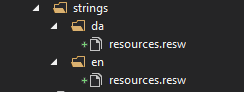
- In your Windows 8.1 project. Create a strings folder with each of the supported language codes as subfolders.
- Create a RESW file in each of those language code subfolders.
The result should look something like
That is it. Now your Windows 8.1 project should be able to pick up all the languages you have specified and you can get the correct strings from your RESX files.
Here is how I use it.
In my PCL I have a small helper for Windows 8.1 which looks like:
I have registered that helper in my
App.xaml file like so:
Then I can use it like this in my Windows 8.1 app XAML pages and templates:
Given that
Welcome is a key in the RESX files.
On iOS I create my views in C# code pretty much by hand. Hence I simply use the RESX files directly. So if we say my RESX file is called
ApplicationStrings.resx then usage looks like:
On Android I use
RESX localization plugin for MvvmCross,
where Stefan Schoeb has a very nice description on how to use it. I don't use it for iOS since it is just easier to directly get the strings. Less code 😁
21 Oct 2015
|
Xamarin.iOS
MvvmCross
Xamarin
It has been a busy couple of weeks and the result of this is now available to all of you.
ALRadialMenu
Last week I released a new NuGet package called
ALRadialMenu, which is a port from Swift to C# of
Alex Littlejohn's ALRadialMenu. It is simply a menu which spawns N amounts of UIButton's in a circle around the point you want it to. It is highly configurable.
SGTabbedPager
I also released a new NuGet package called
SGTabbedPager, which is mimicking a ViewPager and ViewPagerIndicator on iOS. This is a p
ort from Swift to C# as well.
DeviceInfo MvvmCross plugin
This week I created a Device Information plugin for MvvmCross. I know there are some other plugins. However, not all of them covered exactly what I needed. The plan is to expand it with more device information, such as batter, storage, connectivity etc. Ideas are welcome and
can be submitted as a GitHub issue on the repository.
This plugin can be found on NuGet too as Cheesebaron.MvxPlugins.DeviceInfo and targets Android, iOS and Windows 8 + Windows Phone 8.1 (universal). It should also work in the new Windows 10 UWP apps, although not tested.
16 Oct 2015
|
Xamarin.iOS
I am making an app where I don't want to display the shadow underneath the NavigationBar and the top gradient on a TabBar.
For some reason the Apple SDK does not provide a simple boolean Property where you can just disable it. A lot of solutions on StackOverflow requires you to set a background image and a shadow image to remove it entirely.
Digging through solutions a bit I found that these two ways seem to work pretty well.
So for the NavigationBar, what you do is traverse through all subviews to find the UIImageView which is the shadow and simple remove that from showing up. This is done as follows.
For the TabBar it is slightly different. It has a member variable, which is private, so you cannot get hold of it directly. However, using the SetValueForKey() method, which all NSObject's have, you can set that variable to true.